Progress on the Jaguar and Virtue
- Brandant Robinson
- Nov 25, 2019
- 2 min read
I hope that everyone is enjoying this new week as we all prepare to stuff ourselves with turkey, mashed potatoes, and binge watch football in a few short days. I wish everyone a happy Thanksgiving!
Here are a few photos of the progress made on the two knives over this past weekend.

Above are all of the major parts for both knives that have had their profiles rough ground. Lots of time at the band saw and grinder. I leave the bolsters for the Jaguar really rough at this point until I get the parts fit together.

To get started, the screw holes in the liners need to be located. I mark and drill one liner, clamp it to the second liner, and spot drill the holes in the second liner so that the two halves match up exactly. These holes will eventually be tapped to accept the hardware.

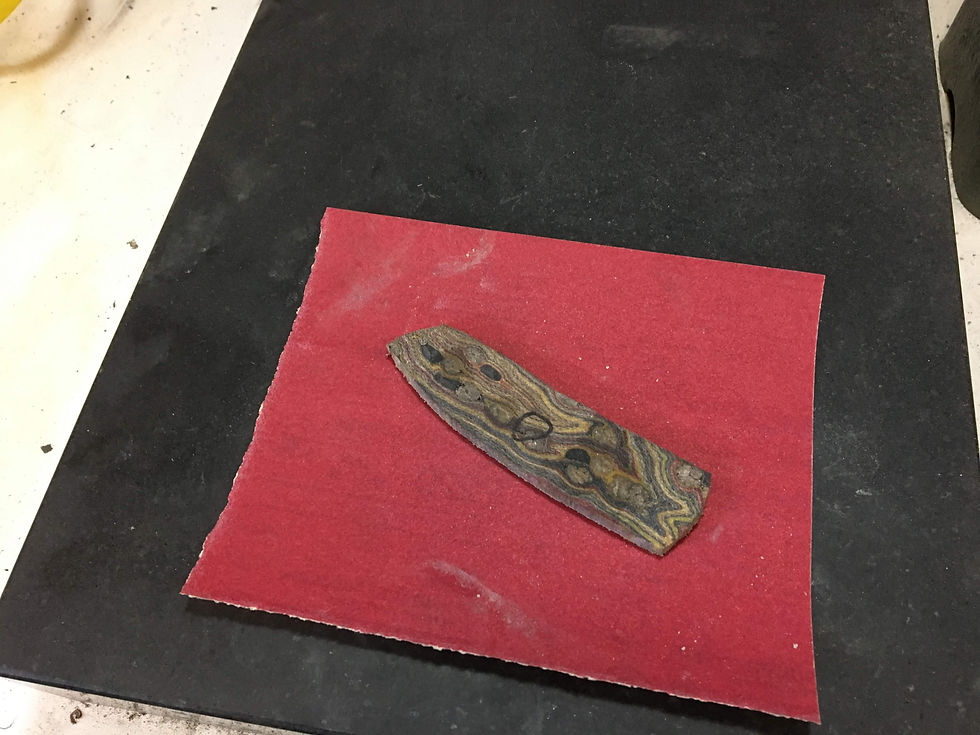
The back sides of the scales and bolsters need to be absolutely flat so that they mate up with the liners without any unsightly gaps. I use a combination of my surface grinder attachment and a surface plate with sand paper to accomplish this.

Here's the surface grinder attachment ready to start truing up all of the parts. I get pretty darn good tolerances with this shop-made gadget. I'd love to have a dedicated surface grinder, but I have neither the space or the money for that yet.

Next, it's over to the mill. The Virtue knife will have all hidden hardware. Since screw threads would just rip through Micarta, I mill out some pockets in order to add some steel disks that will accept the screw threads.

I take a rod of 1/4" 416 stainless and cut off some small disks just a little bit wider than the holes are deep in the scales. They will sit a little proud, but will be ground off flat when everything is said and done.

The scales and the screw disks are ready to be fastened together.

A little epoxy and the disks are permanently fastened into the scales.

Next, we'll shift over to the Jaguar knife and start fitting up the bolsters. I begin by clamping the front bolster to the liner so that I can spot the holes that will need to be drilled.

Once both front bolsters have been drilled, I pin them together and grind the backsides so that they are flush with each other.

At the clients request, these bolsters will have a nice radius instead of the usual dovetail fit. In order to do this I clamp the two bolsters to a 1-2-3 block while they are still pinned together and grind the radius on a 2 inch wheel. This way, the radius faces of both bolsters will be exact mirror images of each other when installed on the knife.

Here is what the bolster will look like on the knife. Looks pretty good.
Well, that was the extent of the progress. I hope to steal some time out of my holiday vacation to push these builds forward. My clients have been more than patient and I hate to keep them waiting much longer. More to come next week. Thanks for checking in.
- Brandant Robinson


Comments