
New Glaucus Build
- Brandant Robinson
- Sep 18, 2018
- 5 min read
I really love the beginning of a new build. The possibilities always seem so endless. This particular knife will be entered into a drawing over on the Knife Dogs forum. A bunch of knife makers will be making a knife for the drawing and then, come December, numbers will be drawn and the knives will be exchanged between the participants. We call it the KITH (Knife in the Hat) exchange. I participated a couple of years ago and had fun doing it, so, I entered again this year. I decided to make a Glaucus design knife for the exchange which is a great little companion knife to carry with you everyday. I hope you enjoy following along with me on this build. Off we go!

This build starts off like any other, with the selection of raw materials. The blade will be made out of this small cutoff piece of 0.1" thick CPM154. The liners will be made out of 0.050" thick 6AL4V titanium and the bolsters will be made out of 1/8" thick 416 stainless steel. I have also laid out a piece of olive drab G-10 for the scales.

First, the roughed out blade gets surface ground on my new surface grinder. This thing is so awesome! I couldn't be more happy with how it performs.

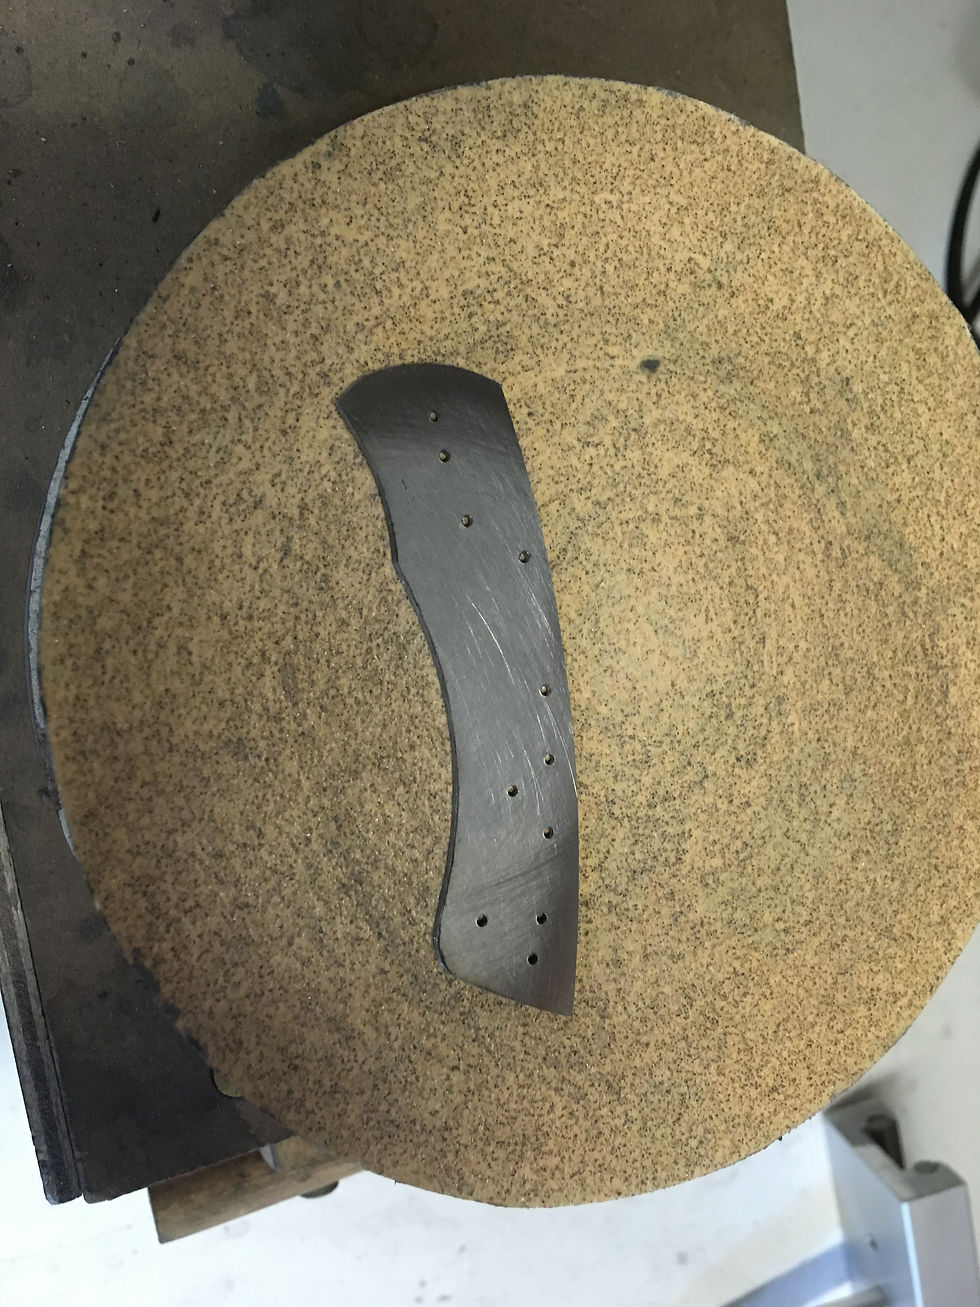
The next step will be to get the blade profiled and ready for heat treat. Here is the blade after it has been ground to the basic profile shape with the grinder.

I clean up the bottom edge of the ricasso area with a sanding drum on my dremel. I will also cut in a choil with a 1/8" chainsaw file.

Here's a pic of the blade with the ricasso and choil shown.

Before the blade gets hardened, I want to make sure that I get the holes drilled for the pivot and the thumb stud screw. I do this on my mill which makes a perfectly perpendicular hole which is essential for the pivot to work smoothly.

Time to bring this blade to life. It gets wrapped in high-temperature tool wrap to protect the blade against decarborizing.

Into the oven it goes for hardening. That little blade looks kind of lonely in there all by itself.

After 40 minutes at 1950 degrees, the blade gets quenched between two 1" thick aluminum plates with compressed air shot in between.

Once the blade has been quenched it goes into a deep freeze cycle which helps to convert any retained austinite that may be present. Dry ice is cold enough (about -100 degrees F) to get the job done. Most makers will use a slurry of dry ice and acetone or RV antifreeze. I find that simply crushing up the dry ice and packing the blade into it does just as well without the mess. I've proven time and time again that it's just as effective to do it this way by taking readings with my hardness tester.

Here's the blade in my hardness tester. 65 RC shows that the blade is glass hard right out of the deep freeze cycle. Next, the blade goes back into the oven at 450 degrees for a double temper.

And after the two temper cycles have been completed, I test the hardness again along the edge of the blade. 61 RC from tip to choil. Right on!

The bolsters, liners, spacer and scales have been marked out on the raw materials.

The parts have been rough cut on the band saw.

In order to know how thick the spacer needs to be, I take a measurement of the blade plus the two washers. Knowing this measurement, I can now surface grind the spacer down to the precise thickness.

Here is the spacer after being surface ground to the needed thickness. I have also surface ground the bolsters to clean them up.

Off camera, I profile ground the two liners. I leave just a few thousandths of an inch which will be removed after the knife is assembled. Here is the paper template that I use to locate hole locations with a center punch.

Drilling the holes at the drill press.
The burrs from the drilled holes get cleaned up on my disk grinder.

I use the first liner as a template and clamp it to the second in order to locate the holes for the second liner. This way the two liners match up exactly.

I use the same technique to locate the holes for the spacer.

With the liner holes located, I can now start the process of fitting the scales and bolsters. I start off by clamping the scales in place and drilling the holes in them.

With the holes drilled through the scales, I can now match up the faces of the scales that will mate up with the bolsters. I pin them together and grind the edges flush. It's very important to get these surfaces to match so that the bolsters will line up and be mirror images of each other.

The mating ends of the bolsters also get ground off at 30 degrees in order to create a dovetail fit.

The two scales are pinned together to verify that they match up. Looks good.

Next I grind the same 30 degree angle on the mating ends of each of the four bolsters.

With the scales pinned in place, I clamp the bolsters in place on the liners making sure that there are no gaps between the scales and liners. I will then locate the screw holes and drill through the bolsters.

With all of the holes located, I drill the through holes with a larger diameter drill. I also drill and ream the pivot holes which I do at the mill to keep the holes a little more accurate. Once the drilling is complete, I tap the holes with a 0-80 tap. I use to tap all of my holes by hand, but I recently purchased this tapping fixture which takes a long boring job and turns it into less than a minute for all the holes. It literally saves me an hour of tapping and I don't have to worry about breaking these little taps. Nice!

The screws that will pass through the liners and spacer to hold the knife together need to have a countersink in order to get the screw head below the surface of the liner. I use this little gauge to set the depth of the counter sink and lock in the spindle stop.
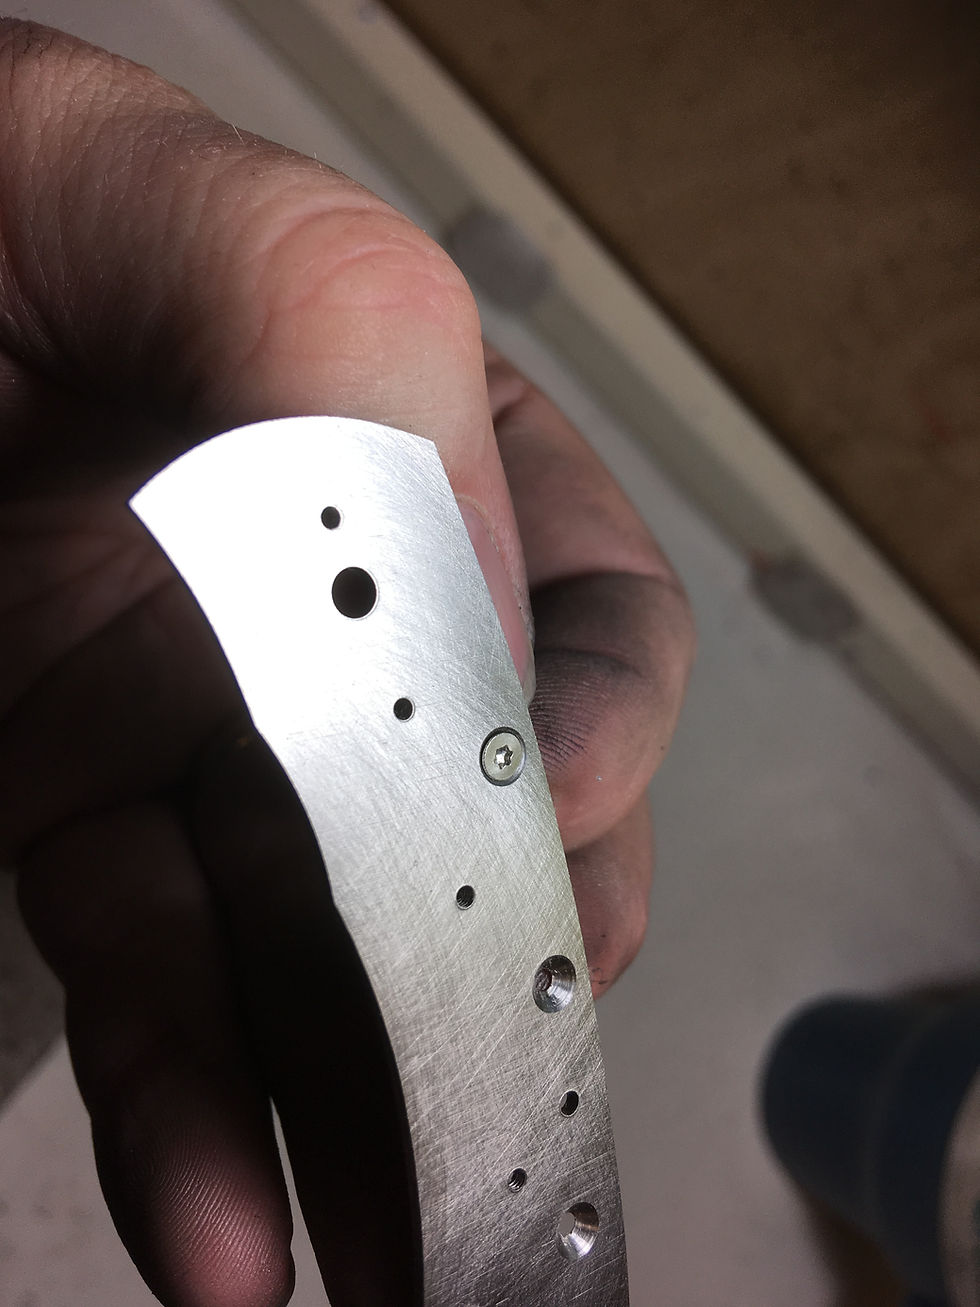
Here's the liner with the countersink holes in place and a flat head screw to show what we did. These screws will be hidden when the knife is assembled.

Here is my fixture for my button head screws. In order to get the correct length, the screws must be shortened. I surface ground this plate to that exact dimension and tapped the holes. Now, All I have to do is screw in a batch of screws and grind off the ends. I also polish the screw heads at the buffer while they are still attached.

As you can see, the bolster and scale holes have been countersunk to keep the screw heads below the surface. I have also assembled each side of the handle. It looks like something out of a Frankenstein movie at the moment, but a few minutes on the grinder will fix that.

And here are the two sides of the handle after being profile and surface ground down to almost final dimensions. I hold off grinding to final dimensions until after the whole knife is assembled.

Here's a spine view of the handles to show that dovetail feature. Looks good.
Well, that's all for now, folks. Thanks for following along with me on this build. Check back soon for the next installment.
- Brandant Robinson


Comments